Unlock the secrets to creating dramatic, cinematic portraits in minutes using Google Gemini’s advanced image generation capabilities.
Hey there! Welcome back to Edit Pro Tips AI. We’re diving deep into the world of artificial intelligence to show you an incredible trick that will elevate your personal branding and social media content. Today, we’re revealing the exact process I used to generate a breathtaking, dramatic portrait complete with striking lightning effects using Gemini AI. This isn’t complex, it’s efficient—you can replicate this professional-grade result with your own photo in under 5 minutes!
The Power of AI in Visual Creation
The days of needing an expensive studio setup, complex lighting equipment, and hours of Photoshop expertise are over. AI tools like Gemini have democratized professional visual content creation. The portrait you saw—with its deep, moody atmosphere, cinematic color grading, and those powerful orange-red lightning bolts—was entirely generated by a sophisticated AI model. This not only saves time but also allows for boundless creative experimentation.
Start Your AI Portrait on Gemini Now
Essential Prerequisites for Your AI Masterpiece
Before you begin your lightning-infused transformation, make sure you have the following ready. Preparation is key to getting a perfect result on the first attempt:
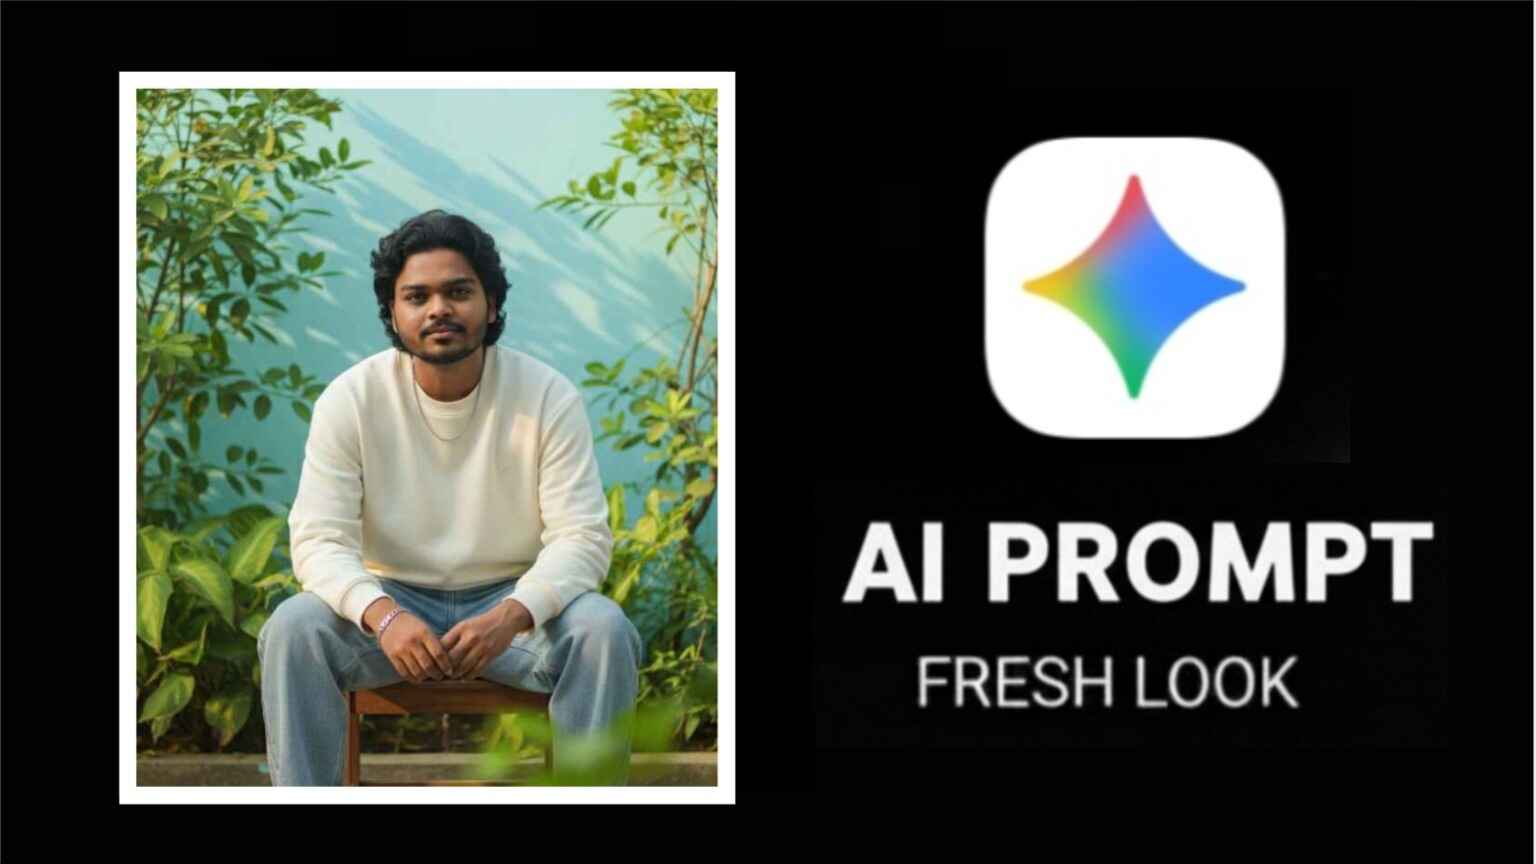
- Google Gemini Account: You need a free account, accessible at gemini.google.com. If you have a standard Google account, you’re already set up!
- A Clear Reference Photo: This is the most critical element. Your photo should be well-lit, clear, and preferably front-facing to give the AI the best data for maintaining your realistic facial features.
- 5 Minutes of Uninterrupted Time: The process is quick, but focus ensures the best prompt execution.

Step-by-Step AI Portrait Master AI Portrait Generation: Lightning Effects with Gemini Generation Process
Follow these five simple, yet critical, steps to create your dramatic portrait:
Step 1: Preparing and Optimizing Your Reference Photo
Start with a high-quality photo. A clear, well-lit, frontal shot works best. While Gemini is excellent at style transfer, giving it a high-fidelity reference of your face ensures the final result maintains your likeness accurately. Avoid photos that are blurry or overly filtered before uploading.
Step 2: Accessing the Gemini Platform
Navigate directly to the Gemini website and sign in using your existing Google credentials. The interface is intuitive, designed for quick access to the image generation tools.
Step 3: Uploading the Reference Image
Look for the image upload button—it usually looks like a small mountain or photograph icon. Click it and select the clear photo of yourself you prepared in Step 1. This action tells the AI, “Base the subject’s face on this specific image.”
Step 4: The Art of Prompt Engineering – The Lightning Master Prompt
The prompt is your director’s script. Copy and paste the following detailed, exact prompt to guarantee the striking lightning and cinematic aesthetic. Every word here is intentional:
Step 5: Generate and Curate
Hit the ‘Generate’ button (or equivalent) and give the AI model 30-60 seconds. Gemini will process your request and produce several variations. Carefully examine each one. Choose the portrait that best captures your likeness, the intensity of the lightning, and the overall moody atmosphere. You might need to try the prompt a few times to find the absolute perfect output.
Customizing Your Creative Vision
The beauty of AI generation lies in its flexibility. Once you master the base lightning prompt, you can easily pivot to entirely different aesthetics by simply modifying a few keywords. Here are a few advanced examples:
For the Nostalgic 90s Aesthetic
If you prefer a softer, retro vibe, use this comprehensive prompt. Notice how descriptive and specific it is about every element—from clothing color to lens choice. This is advanced prompt engineering:
Other Electrifying Style Modifications
A simple find-and-replace can change the entire mood:
- Fire Effects: Replace “lightning” with “vibrant blue fire flames” for a demonic or mystical look.
- Neon Cyberpunk: Add “neon lights, cyberpunk city skyline background” and “glowing holographic elements” for a futuristic feel.
- Golden Hour Glow: Substitute the ‘dramatic lighting’ section with “warm sunset golden hour lighting, rim light from the side” for a softer, more professional headshot feel.
Explore More Advanced AI Tutorials
Pro Tips for Consistent AI Excellence
To consistently generate high-quality, professional portraits, keep these expert tips in mind:
- Be Hyper-Specific: Do not rely on the AI to fill in the blanks. Detail everything: the clothing texture, the background material, the mood, the color temperature, and even the camera lens you want simulated. The more specific, the better the result.
- Define the Aspect Ratio: Always include “9:16 vertical ratio” if you’re targeting platforms like Instagram Stories, TikTok, or YouTube Shorts, as this is the standard vertical mobile format.
- Demand High Resolution: Adding “4K quality” or “ultra-detailed” pushes the model to render with higher fidelity, leading to fewer artifacts and cleaner lines.
- Simulate Professional Gear: Referencing professional photography terms, such as “50mm f/1.4 lens”, is a known trick to prompt the AI to apply realistic camera blur (bokeh) and composition effects, giving your image that high-end, studio-shot look.
- Iterate and Refine: Rarely is the first result perfect. Adjust your prompt slightly and generate multiple times. For example, if the lightning is too faint, change “Add striking orange-red lightning” to “Add intense, high-contrast, brilliant orange-red lightning.”
Quick AI Troubleshooting and Refinement
Even with a great prompt, things can sometimes go slightly awry. Here is how to quickly fix the most common issues:
- Face Doesn’t Look Like You: The AI needs a strong, clear baseline. Go back to Step 1 and select a clearer, less cluttered reference photo where your face is the central focus.
- Wrong Colors or Tones: If your lightning is pink instead of orange-red, be more explicit. Specify “Deep orange and high-contrast red-only lightning bolts.”
- Weird Composition or Pose: The AI sometimes struggles with complex poses. In your prompt, add a detailed pose description, like “Subject is leaning forward with one elbow resting on their knee and a calm, intense expression.”
Where to Use Your New AI Portrait
This dramatic portrait isn’t just for fun—it’s a powerful marketing asset. Utilize your new creation across various platforms to elevate your online presence:
- Social Media Profiles: Instantly upgrade your Instagram or Twitter profile picture to stand out.
- Story Highlights: Use them as striking covers for your Instagram Story highlights.
- YouTube Thumbnails: The high contrast and dramatic lighting make them perfect for catching viewers’ attention.
- Professional Headshots: Use a less-dramatic style (like the Golden Hour prompt) for a unique, professional look on LinkedIn or your website.
- Creative Content: Incorporate them into digital art, presentations, or merchandise designs.
Your Turn to Create!
The stage is set. You have the secret prompt and the expert instructions. There’s no better time than now to take your personal brand’s visual identity to the next level. Stop dreaming and start creating your own professional AI masterpiece:
- Go to gemini.google.com
- Upload your best photo reference.
- Use the powerful lightning-effect prompt.
- Generate, download, and share your creation!
Don’t forget to tag me when you post your stunning new portrait!
Found This Helpful? Check Out More AI Tutorials!
Keep creating and pushing the boundaries of what’s possible with AI.
Original post links preserved: gemini.google.com, editprotipsai.in